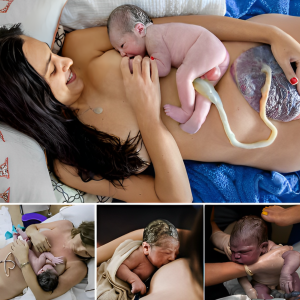
DIY newborn photography involves shooting babies no older than 2 months. It is one of the most challenging photography genres as you should be aware of all safety issues, pick a suitable shooting style along with newborn poses, know your way around lighting and props.
1. Don’t Shoot After 10 Days
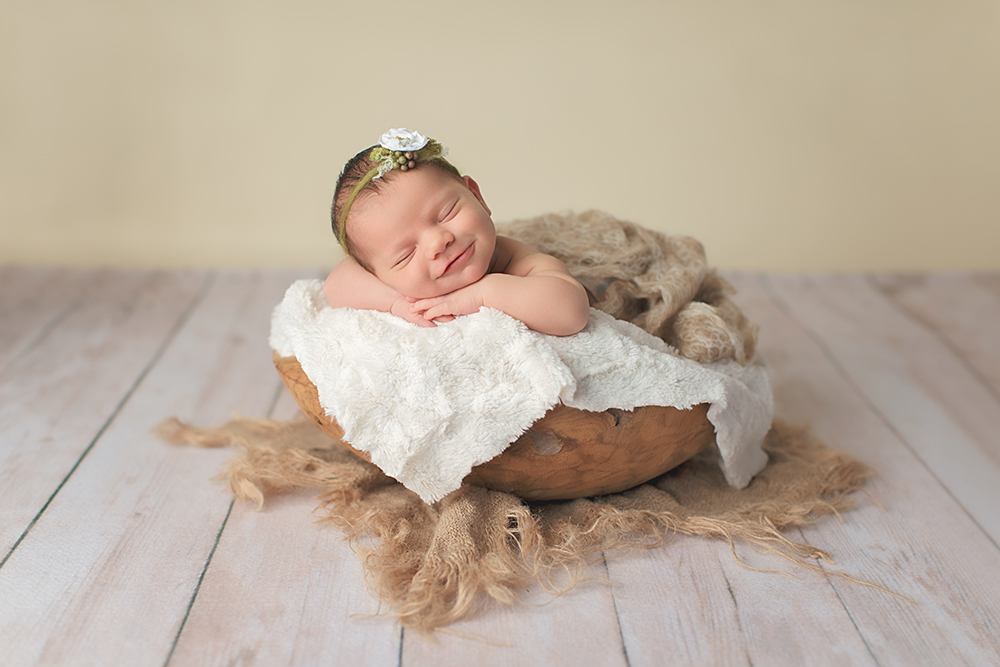
If two weeks have already passed and you haven’t taken newborn photos yet, it might be too late and the results may not be as satisfying. The first 10 days is the best period for shooting since later newborns tend to be more restless during sleep. All the babies are different, however, still, it is recommended to photograph in the course of two weeks when the newborns sleep peacefully and better respond to posing.
2. Take Your Time

When you are the one who takes pictures of your own baby, you have practically all the time in the world. A photographer usually has to shoot and produce amazing results in the span of 3-4 hours. This period of time is extended for parents who try DIY baby photography; they have almost two weeks for shooting.
I highly suggest you not being in a hurry and take your time. If something goes wrong, you can always reshoot the next day. Only in this way, you will achieve stunning newborn images.
3. Think about Newborn’s Safety

When you are dealing with more complicated baby picture poses and props, there supposed to be another person near to assist you and keep an eye on the newborn. Personally, I prefer more natural newborn images without intricate poses. My husband was always around even though I didn’t need much help. Keep in mind that all these newborn shots with complicated poses and scenes are combined from several pictures, not a single one.
4. Make Sure the Space Isn’t Cold

Once you have checked that the baby isn’t hungry, you need to make sure that the space is warm enough for the newborn’s comfort. It will be very hard to get great newborn photography poses if an air conditioner is turned full on. Even with the hot weather outdoors, the inside temperature should be optimal. When the newborn is cold, he/she won’t give you peace. Adjust the temperature in such a way that both you and the baby feel comfortable.
5. Find Cute Props
.jpg)
It isn’t necessary to purchase expensive props when photographing newborns. Feel free to experiment and look for adorable stuff. Use baskets, soft fabrics, beanies, blankets, bands or cute costumes. A cotton towel is a universal background for all kinds of baby shooting. Keep in mind that the material of the accessories shouldn’t harm a newborn. Stick to cotton, wool or paper.
6. Make Sure the Camera is Clean and Stable
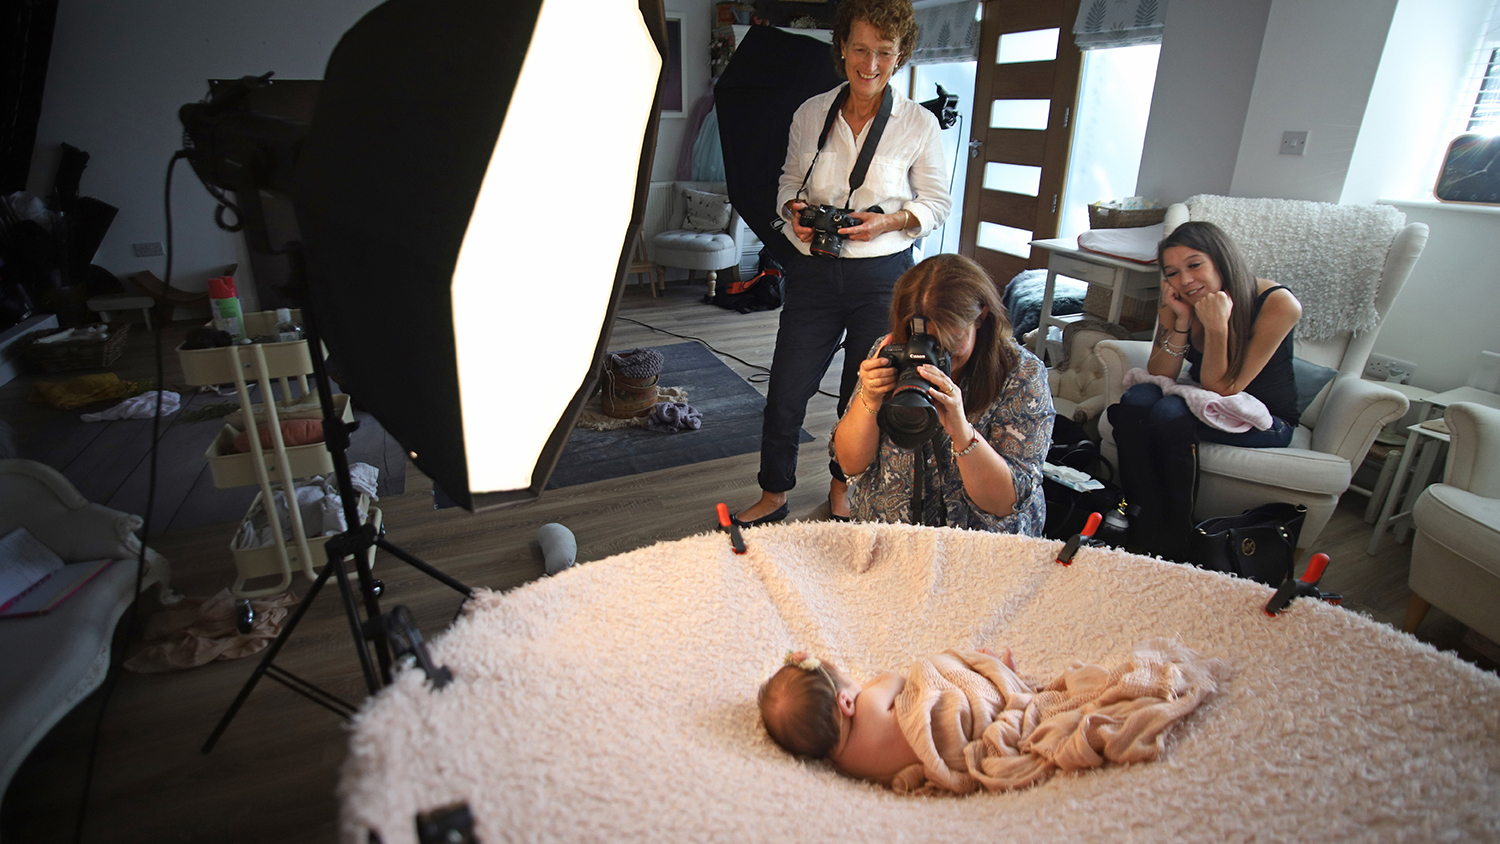
Check whether the camera lens isn’t stained. Use the Lens Pen Cleaning System. Do the same in case of shooting with the smartphone. I suggest using swaddles to clean up the camera. Once the camera is focused, catch your breath and snap a picture. Catching your breath, you reduce the chance of shaking when taking a shot.
7. Set Up a Tripod to Get into Your Own Shots
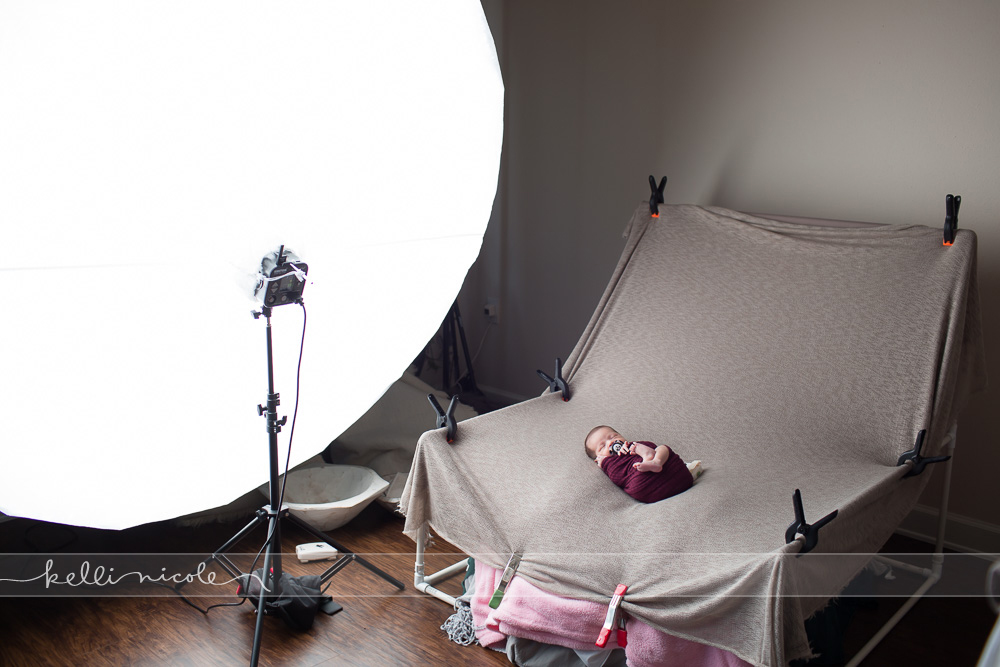
How to photograph newborns and be together with them in the shot if there is no one to snap a picture? The answer is simple – just set up a tripod and mount your camera or a smartphone on it. Also, don’t forget to turn on the camera’s self-timer. When you are ready, gather everyone for the shot and set the timer. Prior to posing babies, check that all the necessary things are in place so that the kids aren’t motionless while you are finding appropriate angles.
8. Give Preference to Natural Light
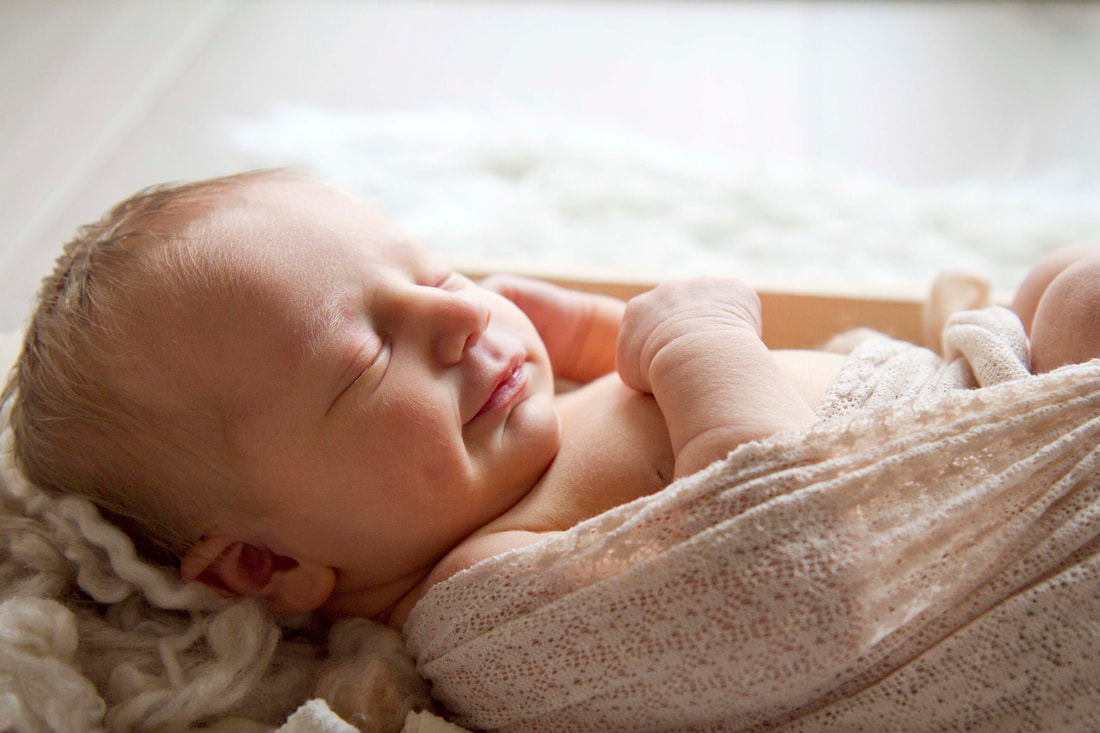
The best DIY newborn photography lighting is the natural one, coming from a bright window with not so strong sun rays. For qualitative shots, the light should fall on the newborn’s face at a 45-degree angle. I recommend you not to pose the baby when the lighting source is straight over or under his/her face.
Shoot during the “golden hour” (early in the morning or later in the afternoon), not in the middle of the day when the sun is the brightest. I believe that lights coming from the top or the bottom seem unrealistic while lighting from the side looks really appealing, producing softer highlights and shadows. That’s why, for my nursery, I hang a sheer white curtain over the window.
9. Arrange a Studio at Home
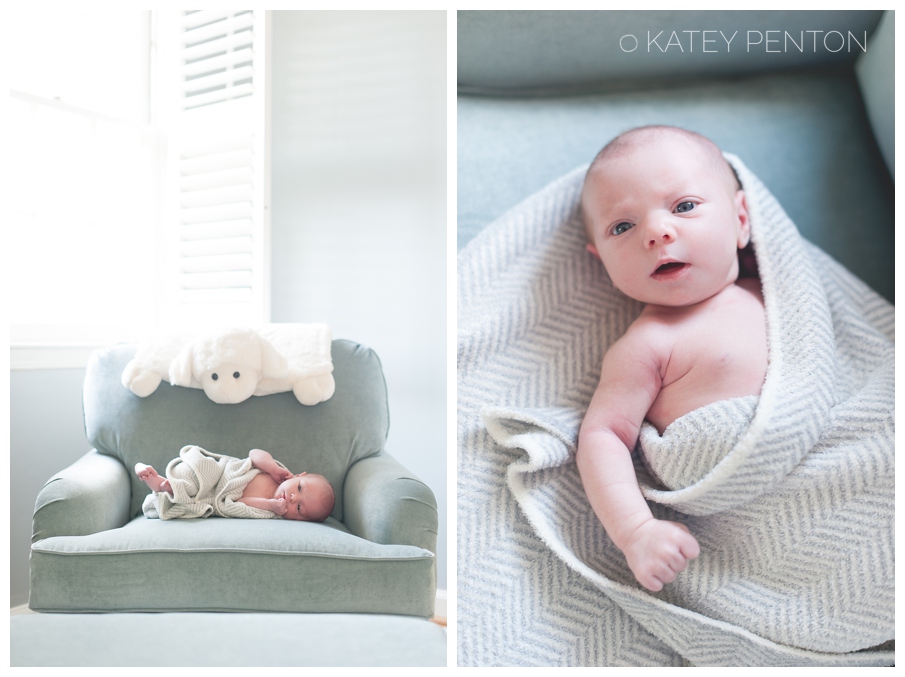
For this purpose, bring a camera or a phone, solid-color backdrop, some item for a backdrop to stand steadily (back of a chair, a big poster board), necessary accessories, such as cushions or pillow, blankets, stuffed toys, baskets, a pregnancy pillow or a boppy to locate a newborn, a pacifier, etc. You may also turn on some calm music.
I purchased a flexible backdrop kit with white curtains. Such kits are typically quite affordable and their price ranges from $40 to $10, which depends on the quality. You may encounter a support system for approximately $39 or even a whole kit. Don’t forget to bring some cushions or pillows as the newborn won’t feel comfortable sleeping on a bare surface without any covering. I picked a cushion for a sofa along with a nursing Boppy pillow. After that, I put a white blanket on top of two pillows.
10. Try Tight Swaddling
.jpg)
Traditional baby photography involves babies wrapped up in swaddles. I have always been wondering how shooters manage to swaddle newborns in such an ideal way. That’s how I figured out one of the most interesting tips for photographing newborns – not to hesitate to bundle up the baby really tight. Newborns enjoy it, and you will be sure that the baby won’t slip away. Begin with a regular swaddle and tightly wrap up the baby. The next step would be to bring a second swaddle and try bundling the baby up in various ways. As a result, you won’t be having difficulties getting an ideal swaddle with the newborn’s parts of the body in the air.
11. Don’t Complicate the Poses

Professional shooters have years of experience mastering poses for babies. Don’t expect to take gorgeous shots from the first try. Nevertheless, you may take incredible pictures no matter what. I suggest picking basic poses which look really realistic. For instance, try shooting your baby while he/she is sleeping with the arms raised over the head.
12. Take Close-Up Shots
When you learn newborn photography, remember that details are no less important. Take pictures of the newborn’s eyes, mouth, small feet and hands. Besides, you may capture double chin, leg and arm rolls, navel cord and tiny hairs on ears and shoulders.
13. Play Around with Perspectives and Angles
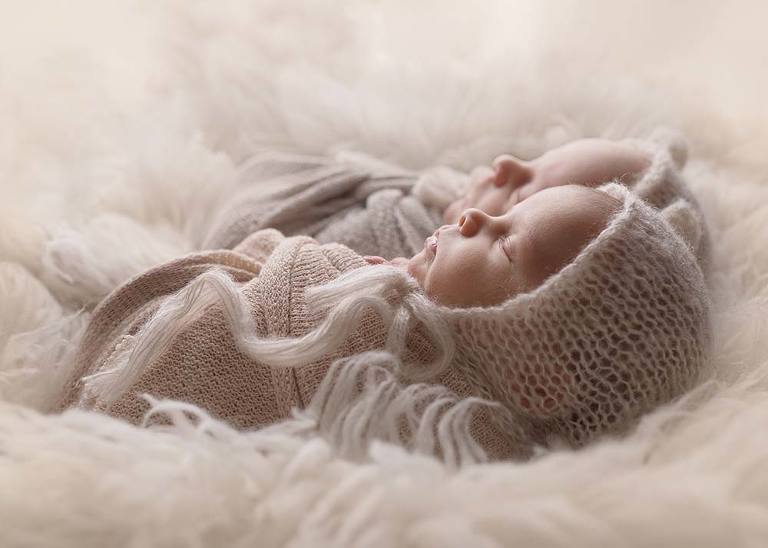
Stand behind the newborn and shoot from the side with shadows – the final picture may really impress you. Don’t proceed to the next pose or scene until you have tried all the possible perspectives and angles.
14. Focus on Safety

Trying to compose a captivating shot may be a good thing, but you shouldn’t forget about newborn’s safety. Always keep an eye on the baby, in particular, if the pets are nearby. What is more, when taking newborn photos from the top angle, with a bulky DSLR camera, check whether the neck strap is on. It is necessary to prevent the camera from slipping and falling on the baby.
15. Involve Other Family Members

Photographing newborns with their father, older sisters and brothers is a great idea. To capture these lovely moments, you need a spacious bright room with a soft carpet. Ask the older brother/sister to sit on the carpet and take the baby on his/her knees. Remember that children should relax and feel free. Only after that, you can start shooting.
16. Photograph Babies with Their Older Siblings
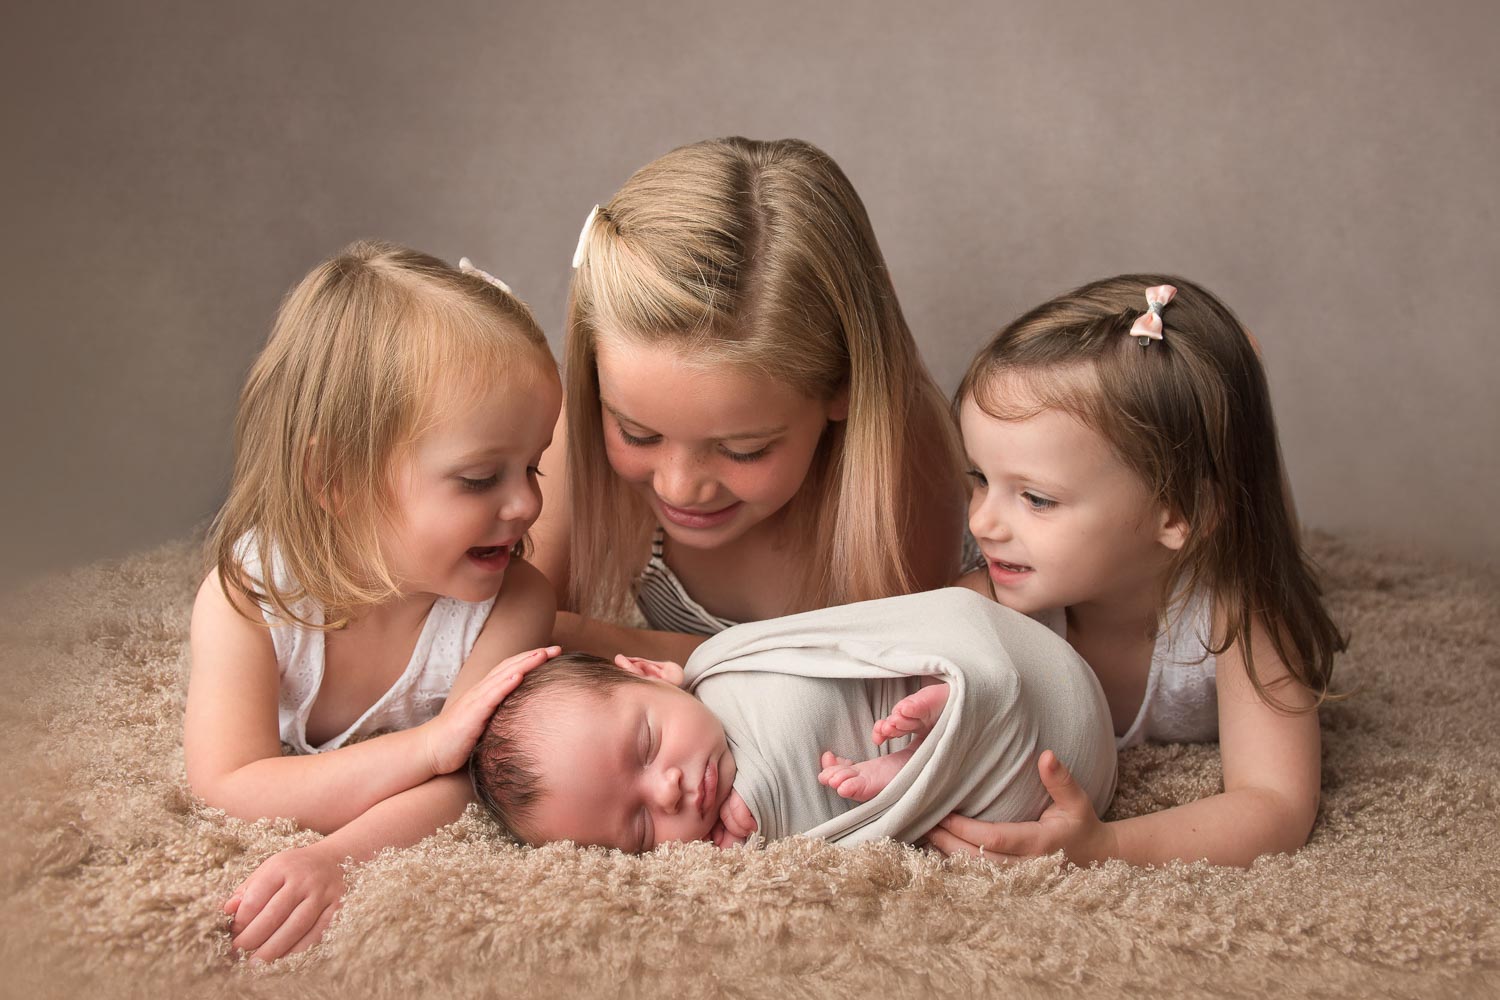
Photos of older brothers and sisters with a newborn are incredibly touching and valuable. You must learn how to photograph newborns with their siblings. If you are photographing young children, then ask them to lie down next to the newborn. Older children will look great holding the baby in their arms. Such newborn photography at home ideas allow older brothers and sisters to feel needed and important because with the appearing of a new baby they lose a piece of parental attention.
17. Hang Some Toys
Capturing a baby in a natural environment is one of the key newborn photography tips. Lay your baby and take a picture of him/her from above. To get cool photos, you can use various hanging toys. They will attract attention and the newborn will look into the lens.
18. Capture True Emotions

This is one of the most important newborn photography tips for parents. Try to keep your camera or smartphone ready to capture natural, unplanned emotions and smiles. The sweet giggling of a newborn or a funny pose during sleep will be valuable memories of the first months of life.
19. Capture the Baby with a Stuffed Animal
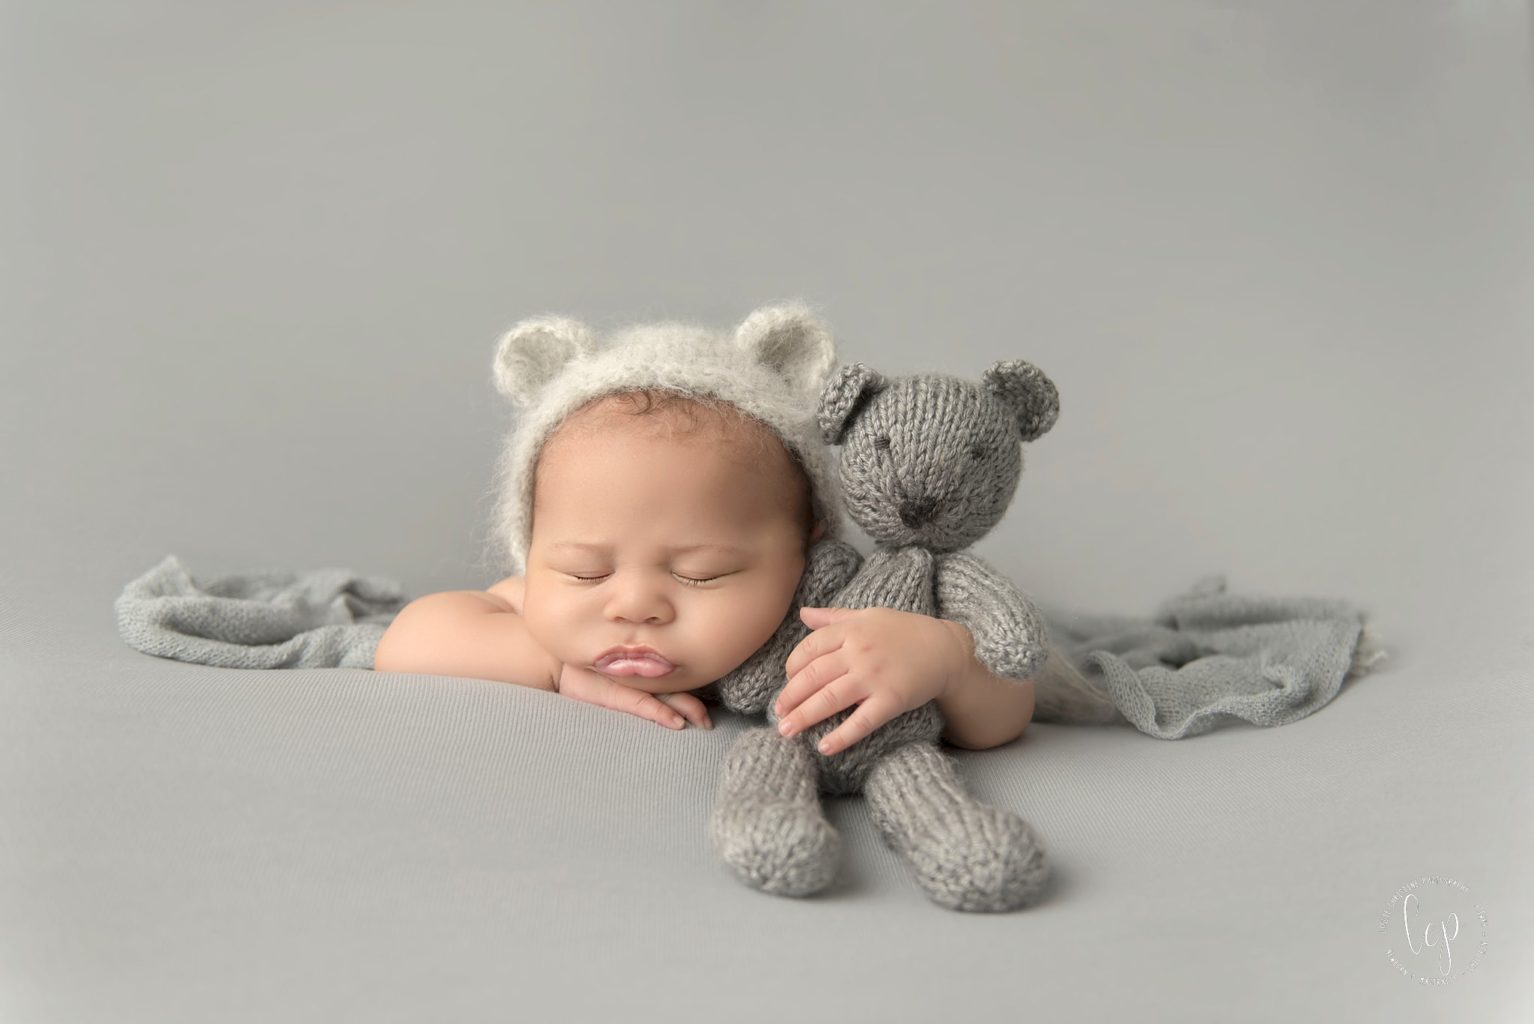
DIY newborn photography is incredibly successful if you take some pictures when the baby is sleeping. A relaxed baby is amazing. You can put his/her favorite stuffed animal nearby. When the child is sleeping, it will be easier for you to capture the charming features of the face as the baby will not move too much.
20. Use Letter Board Announcement

You can create an announcement with baby birth details for your DIY newborn photos. It can be a letter board or a special sign. Remember it should match the design of the children’s room. When the sign is ready, put it near the baby. To have a smiling child in the photos, make a funny face or show his/her favorite toys.
21. Track Important Dates

Use baby photography props to capture important dates in your child’s life. Photos will remind you about the key stages of your baby growing up. You can create special inscriptions or signs and take a picture of a child with them when he/she is only 1 week, a month, half a year, etc. You can also track changes in growth using the appropriate props.
22. Be Careful with Their Flexibility
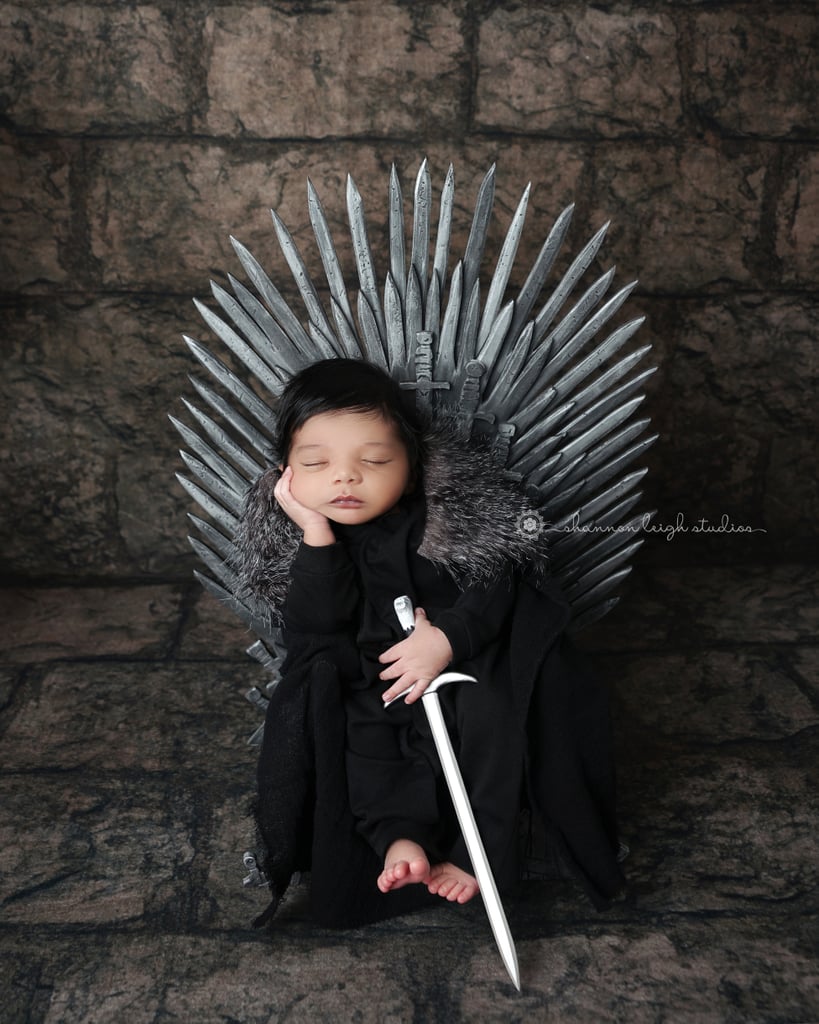
As you know, babies are very flexible. So while taking newborn pictures at home, you must be careful not to overdo it when trying to benefit from this physiological feature. Be attentive to the body and stop your attempts to bend it if you notice any resistance. Do not put the baby in an over-flexed position even if he/she does not show any inconvenience or pain.
23. Avoid Shooting Nude Babies
This recommendation will help you keep your props and accessories safe and sound. By photographing newborns without a diaper, you run the risk that your decorations can be spoiled because babies often pee. Of course, this is not a problem if parents provide their own accessories.
24. Don’t Bother with Skin Problems
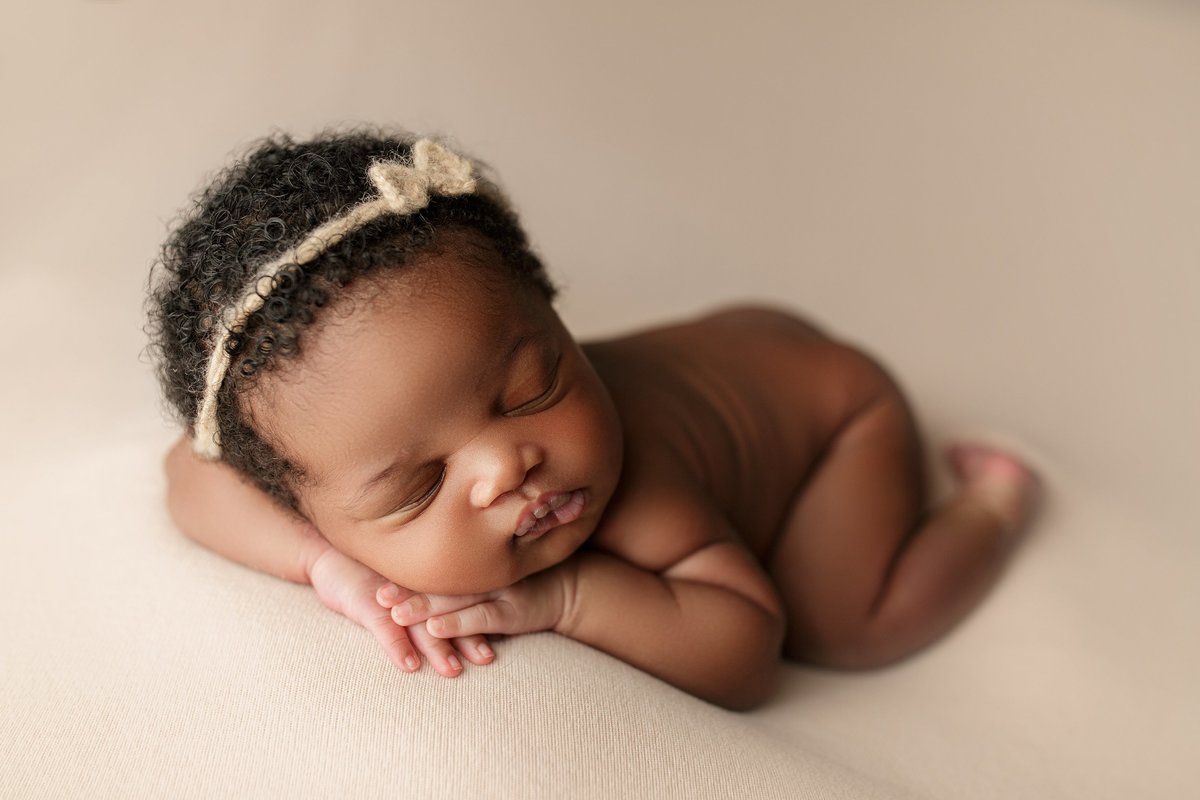
Do not be discouraged if you notice any blemishes or redness on the skin. This is quite common for babies. Implement your planned ideas and then you will be able to eliminate all the drawbacks in Photoshop. You may remove the redness and spots in Photoshop or Lightroom.
25. Don’t Give Too Much Food
.jpg)
You should not overfeed a baby. The child may be too active after such overeating. In addition, the diet is broken, so there may be some problems with spitting up and gas. In my opinion, even the coolest newborn photography poses and ideas are not worth the inconvenience that you cause to breastfeeding moms by giving the bottles. Avoid overfeeding if you want to get amazing shots!
26. Be Careful with Overheating

Although warmth can help calm and sleep a baby, excessive overheating can be dangerous. If it is too hot in a room, your baby may have trouble breathing: it may be very fast and uneven. You can also observe too fast heart beating with a broken rhythm. If you notice changes in breathing or that skin is too hot, stop taking pictures immediately. You must turn off the heater and give the baby wrapped in a light blanket to the mother.
27. Become Friends with Lightroom and Photoshop
h-a-n-h
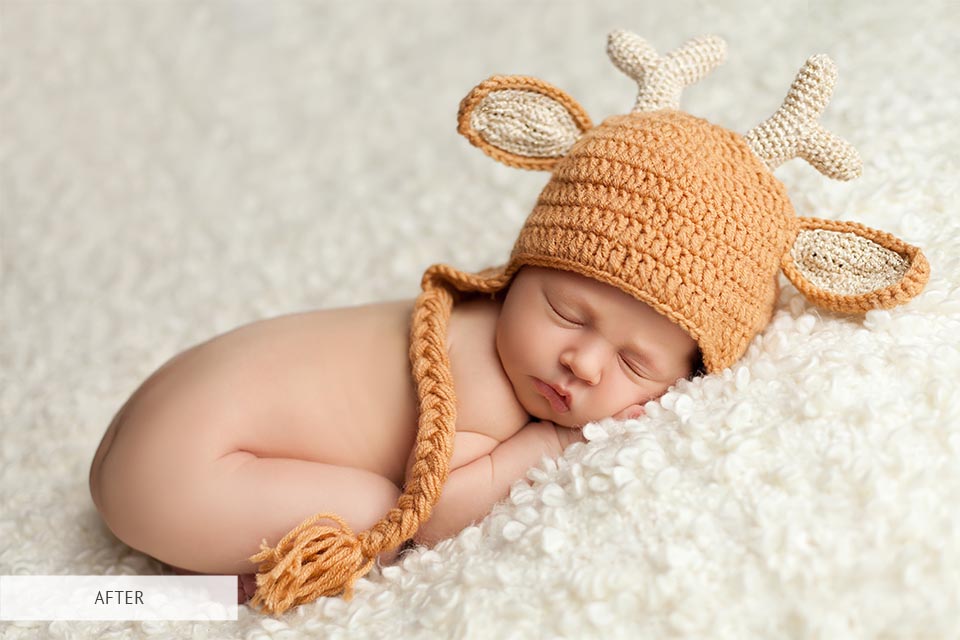
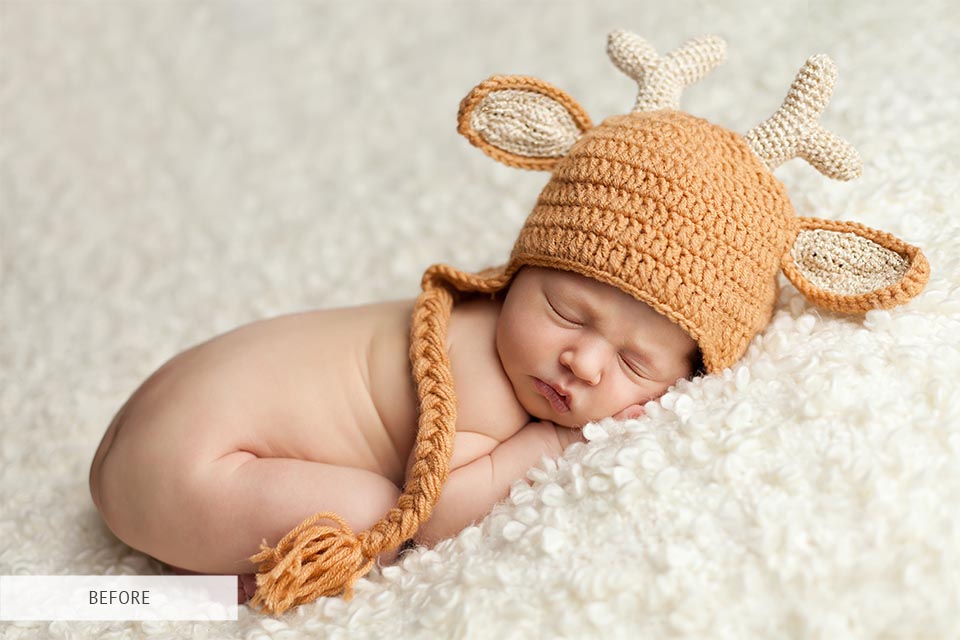
In addition to learning how to take newborn pictures, you should know how to improve them using photo editing softwares. I prefer to work in Lightroom and Photoshop but I’m still mastering my photo editing skills in these programs. They have a lot of useful features and tools that are designed to correct various flaws. Besides, I often apply different presets and actions to speed up my workflow.
28. Watch YouTube Tutorials

Watch professional photographers’ tutorials to edit photos realistically and without overdoing.
29. Ask Professionals for Image Editing
h-a-n-h
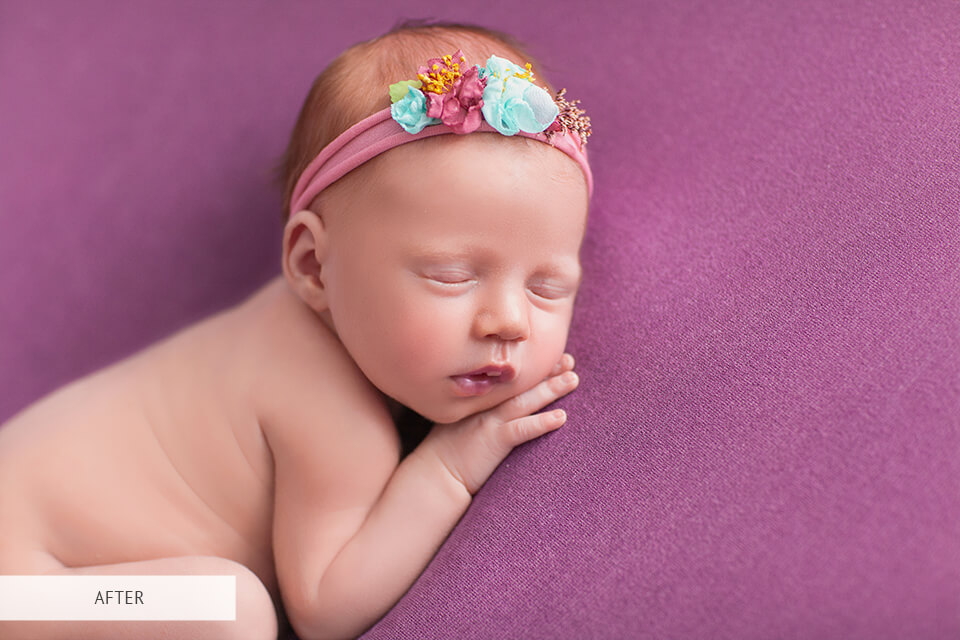
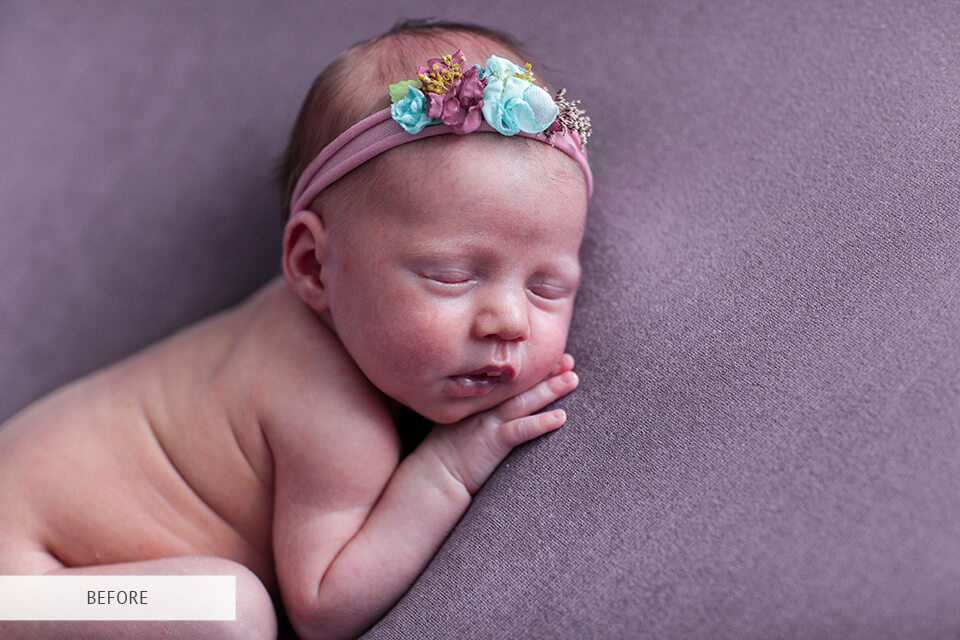
To be successful in DIY newborn photography without spending tons of time on image editing, you should ask professionals for help with photo editing. FixThePhoto team can handle photo retouching of any complexity from $5 per image retouching.
30. Call a Professional Photographer

Do not be sad if you cannot take amazing photos on your own. Look for professionals, who are engaged in photographing newborns and get high-quality pictures!
DIY Baby Photography Editing FREEBIES
DIY newborn photography editing can take a lot of time. However, there is an effective way out! You can use various actions, filters, and overlays to enhance your pictures just in a few moments.
Free Newborn Lightroom Presets
h-a-n-h
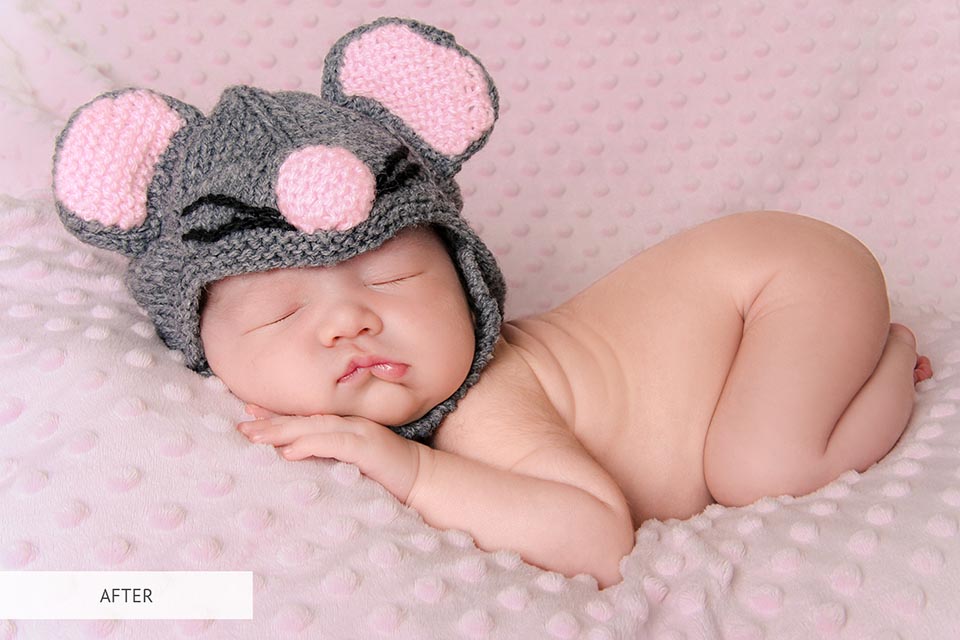
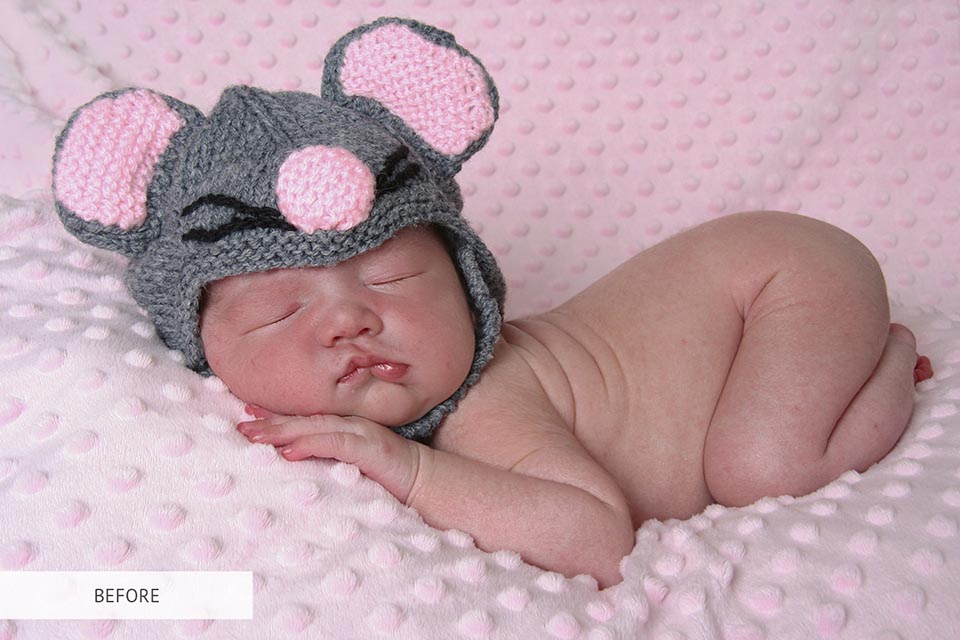
Use this warm filter for funny and cute baby photos. It will give the image an atmosphere of warmth and comfort, fill it with positive emotions. If you want to focus on the tenderness of a baby, then this preset is what you need. To make your DIY birth photography look like professional, download a free collection of filters and create unique photos.
Photoshop Action Newborn “Fix Red”
h-a-n-h
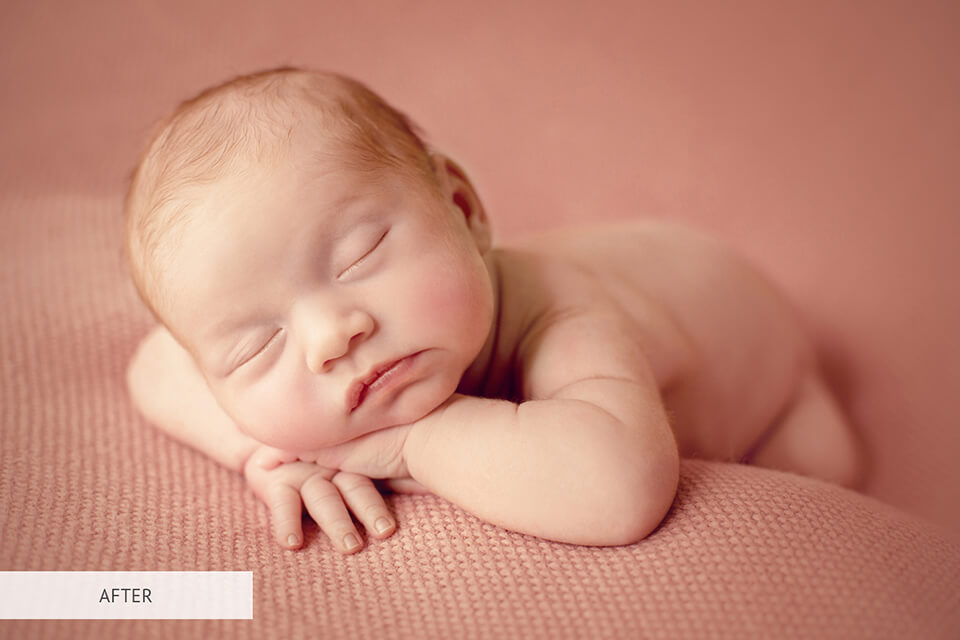
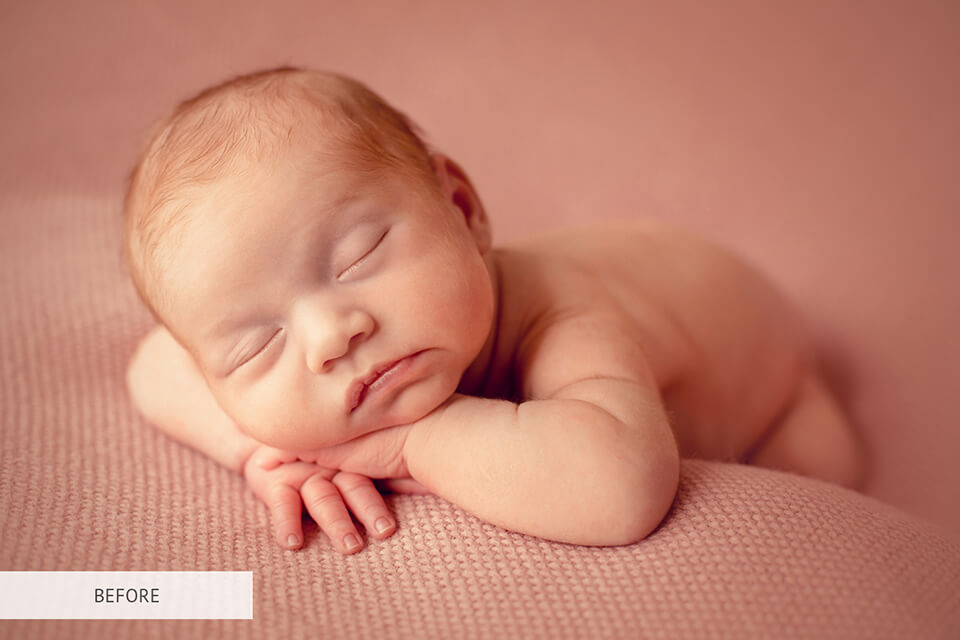
Redness on a baby’s skin is a common thing. To correct this imperfection, use our PS action. It also hides other skin problems preserving its natural look.
Overlay Wings “Blinding White”
h-a-n-h
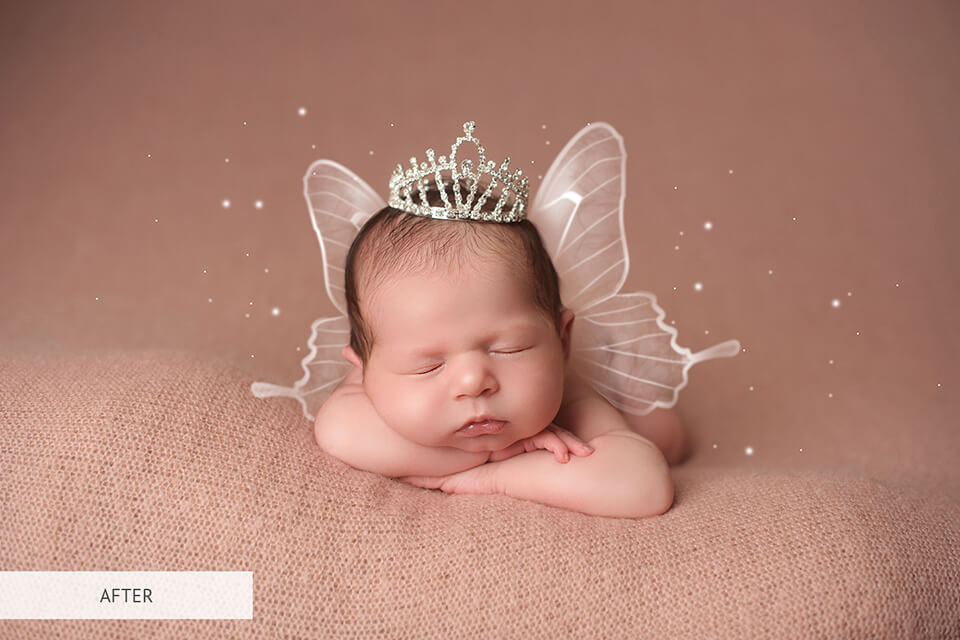
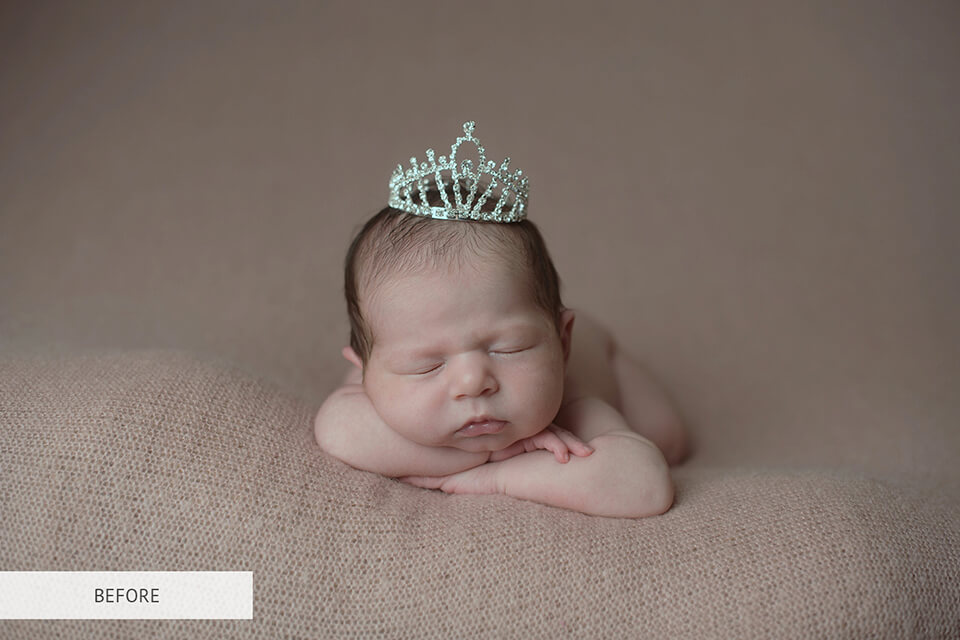
Use this overlay for DIY newborn photos taken on a natural background. Your pictures will be even more interesting and beautiful after adding white butterfly wings with an original pattern.

